Yo ho, yo ho, a pirate's life for me. Stern Pinball in 2006 released Disney's Pirates of the Caribbean based on the first 2 movies at the time The Curse of the Black Pearl, & Dead Man's Chest. With majority of the focus on the 2nd film featuring Davey Jones. Since that time Disney had two other Pirate movies "At Worlds End", and "On Stranger Tides". Another pirates flick is currently in production the 5th installment titled "Dead Men Tell No Tales", which would be released roughly sometime in the summer of 2016. Did Stern Pinball predict the future almost 10 years in advance ? One of the call outs in the game from 2006 the parrot says "Dead Men Tell No Tales". I thought it was neat that the POTC game I bought was from someone who actually worked on the first two movies as part of the filming crew.
This was my first "Stern" Pinball machine, In this post your not going to really see many restoration photos because I bought the game already in excellent playable condition. The pinball artwork on the playfield is done very nicely with the bottom half which looks like an old treasure map. Being that this game is a Disney game it has a few hidden Mickeys throughout the playfield. Do you see the hidden Mickey's below?
For those that don't know what a hidden Mickey is it's essentially is a representation of Mickey Mouse that has been inserted subtly into the design. The translite image on the chest the lock is a mickey head, along with the chest lock on the playfield. The other hidden mickey is in the coins by the flippers. Also to note if your a Disney fan likely you already knew this but the original Pirates of the Caribbean attraction at Disneyland, which opened in 1967, was the last attraction whose construction was overseen by Walt Disney himself; he died three months before it opened. The ride, which originally told the story of a band of pirates including their troubles and their exploits, was replicated at the Magic Kingdom (my favorite theme park!) in 1973, at Tokyo Disneyland in 1983, and at Disneyland Paris in 1992. Each version of the ride has a different facade, but has a similar ride experience.
The top half of the playfield is basically filled with various toys one of which is the flying dutchman. Davey Jones ship aka the Flying Dutchman.
Flying Dutchman
Your objective is to hit the ship, the sails will actually fall down via a solenoid, and the coolest part once you sink the ship it literally goes down into the playfield revealing the kraken behind it. The kraken to be honest was rather a big disappointment just a few layers of plastic, they definitely cut corners to save money and it shows.
Once you sink the ship and are starting to battle the kraken you will have another ball launched. If you lose one of your two balls while battling the kraken the ship will raise back up and you will need to continue to sink other ships to face Davey Jones. If your successful enough to destroy the kraken and retain both balls in play you will hear the Disney's 1967 Pirates theme song play "Yo ho, yo ho, a pirate's life for me...We pillage plunder, we rifle and loot..etc". If you are good enough to sink all of the ships (The Interceptor, The Dauntless, The Edinburg Trader, The Terpsichore) you get to battle Davey Jones
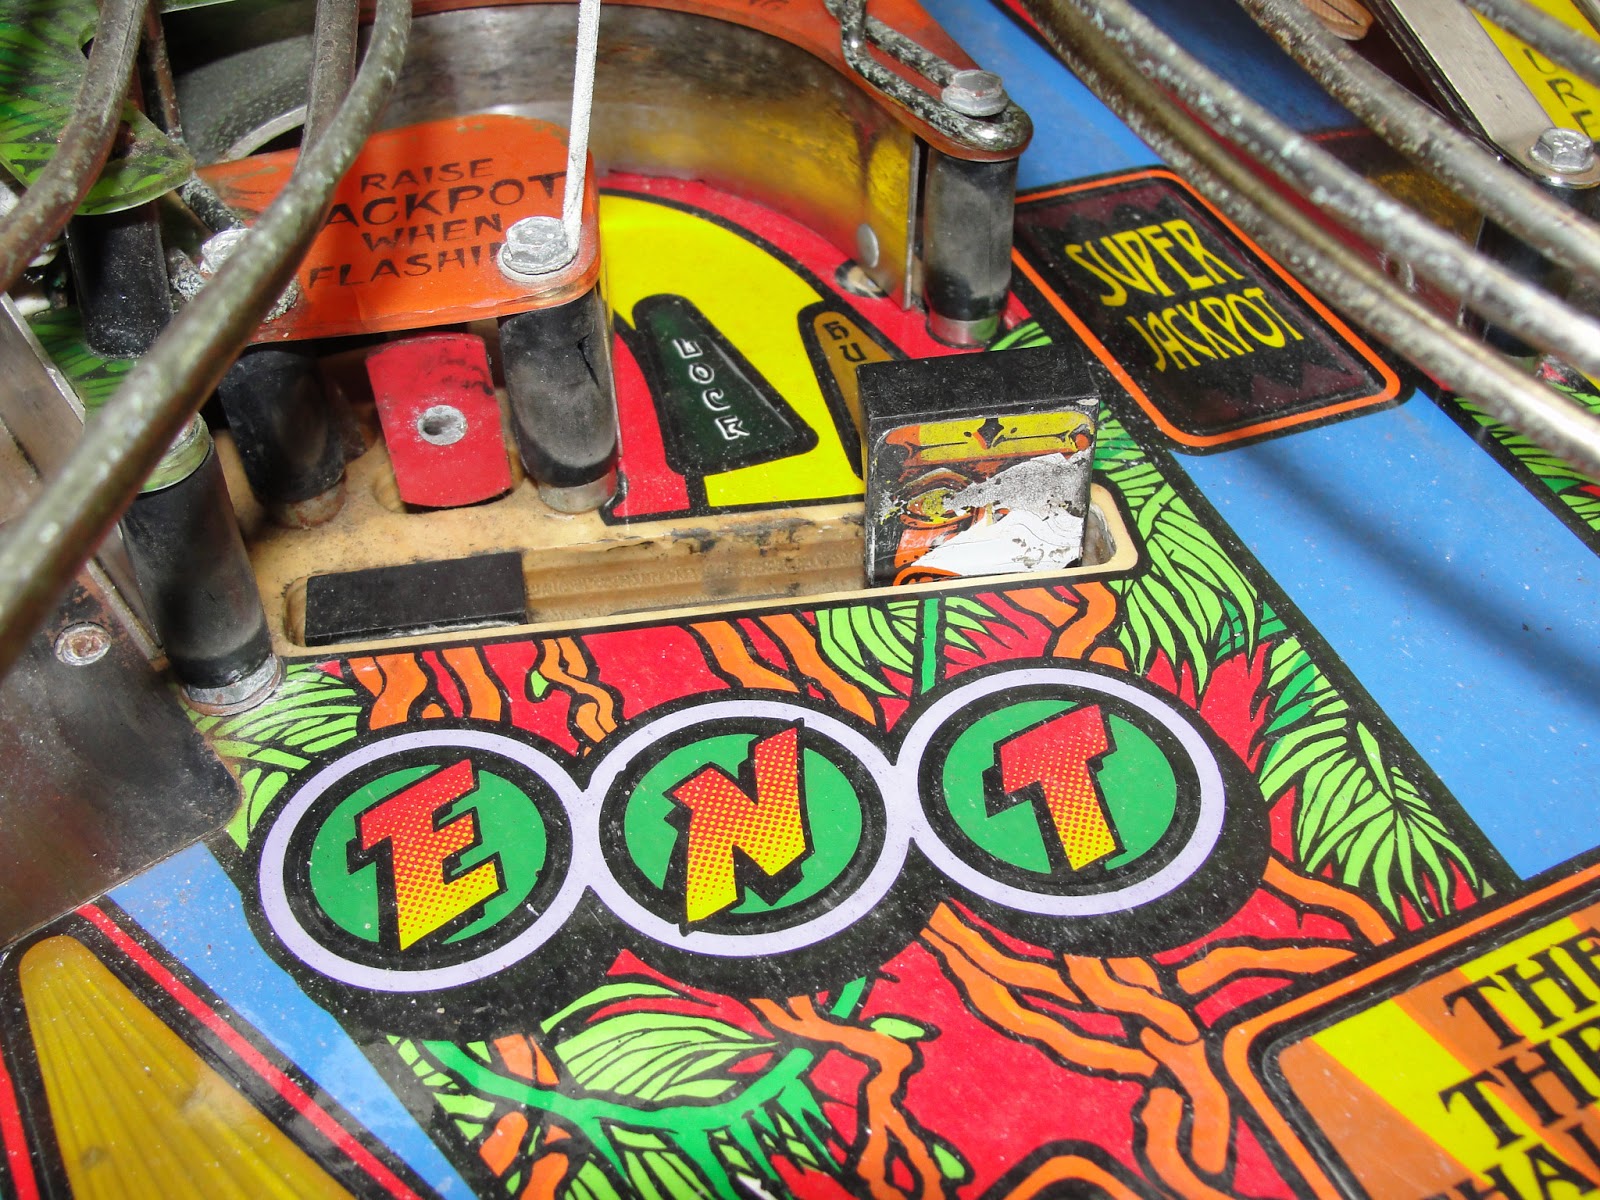
Playfield Objectives : "Sink Ship" When Flashing
The game will start a 4 ball multi ball to help you defeat him however you need to hit Davey Jones aka the Flying Dutchman while the ship is level. The ship will be bobbing up and down which makes the timing much more challenging. Also to note that if you take your sweet time Davey Jones will regenerate his strength so you need to hit his ship multiple times within a few seconds to defeat him.
Treasure Target
A few tips in the game I can give is that try to earn extra balls by hitting the treasure targets on the side, also going up the Port Royal / Tortuga ramp will start to lock up and create a maximum 4 multi ball, that will also help you greatly while defeating Davey Jones.
Port Royal / Tortuga Ramp & Compass
Four Winds Multi-Ball Compass
The games main objection is to complete the compass on the playfield and get to "Four Winds Multi-Ball". This can be a very challenging task In order to do so you need hit all pirate targets, activate max jackpot value, port royal, sink a ship, collect crew, sword fight, light special, destroy a kraken, light the extra ball, defeat Davey Jones, capture Jack the monkey, heart super jackpot. I would say that defeating Davey Jones is generally the toughest thing to complete on the compass followed by Jack the Monkey, and Heart Super Jackpot.
Jolly Roger Coin Slot Inserts
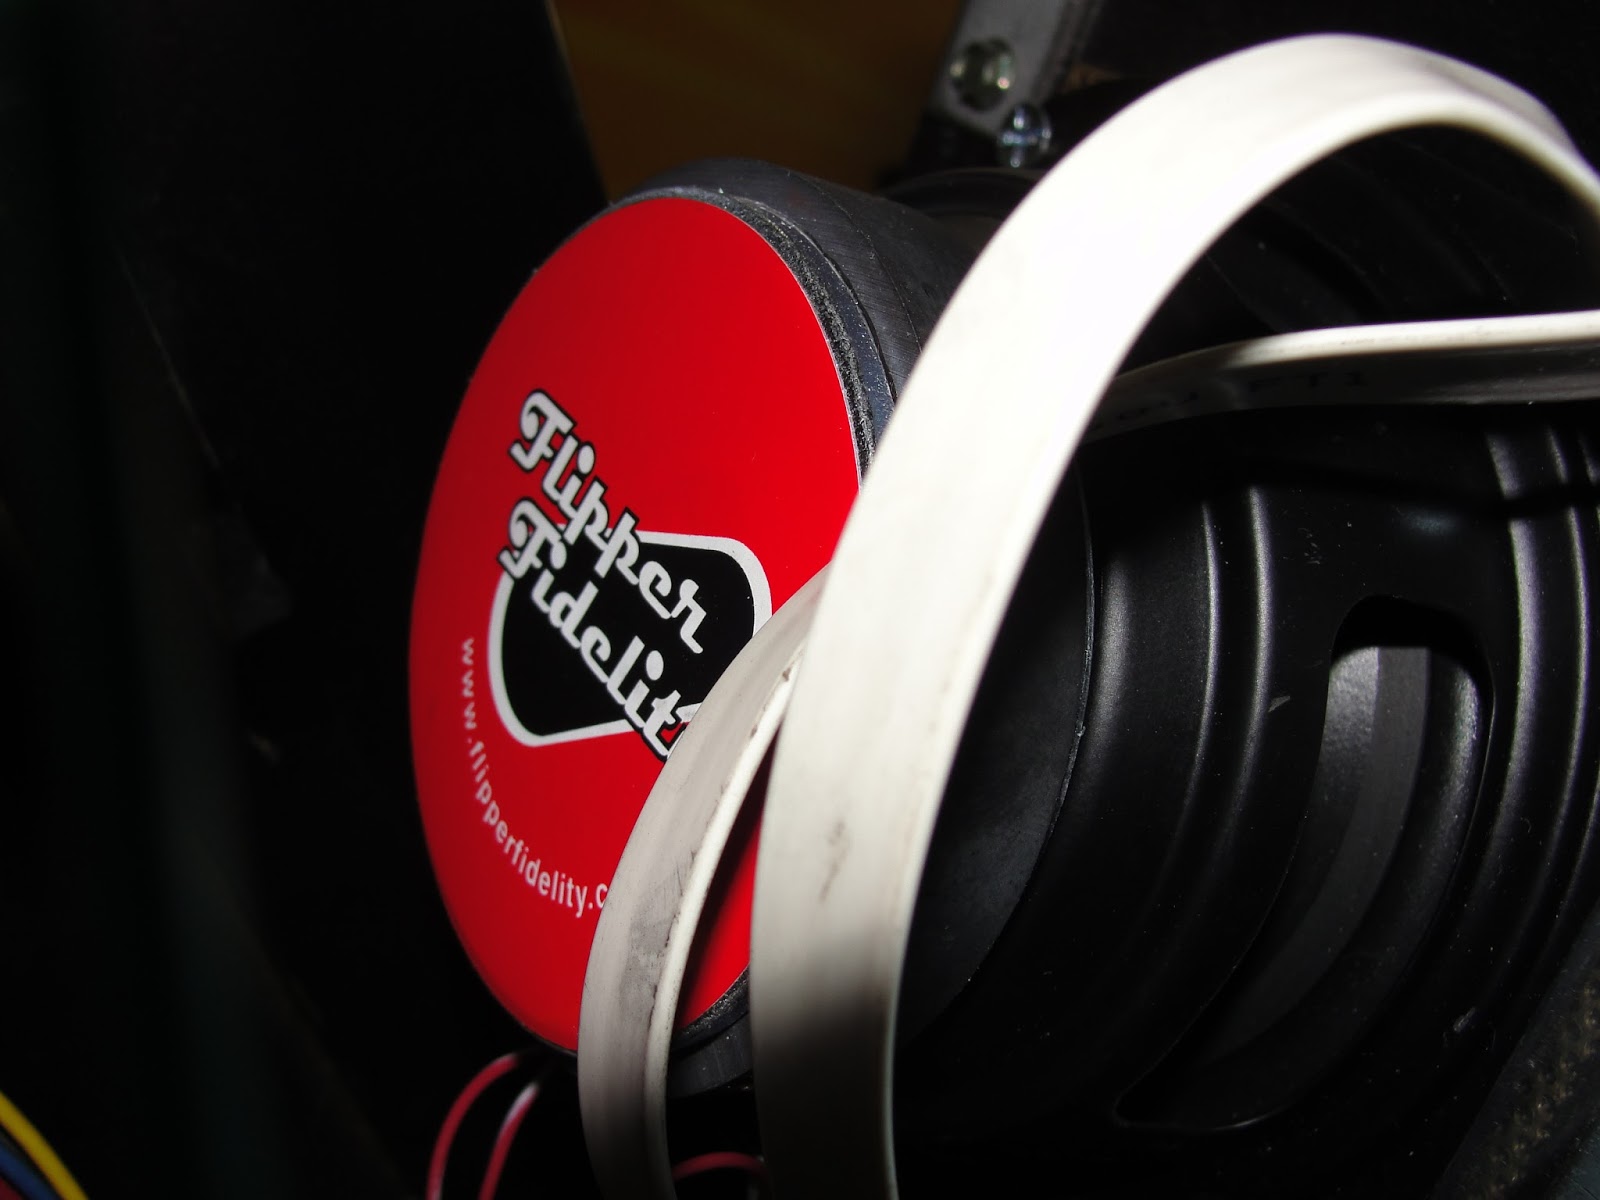
I added Jolly Roger logos to the coin slots on the coin door. My game also came with a few additions and mods that were tastefully done. Some of which included Large Dutchman Cannon, Mini Pearl Cannons, Sand and Barrels, all from Back Alley Creations. Coin Taker LED's installed. The game also has upgraded speakers from Flipper Fidelity which sound great! I did however install a flipper rebuild kit as the flippers were starting to stick and now work perfectly.
Back Alley Creations Dutchman Cannon Mod
Flipper Fidelity Speakers
Instead of having tons of lights on the backbox, the Stern games feature
one florescent tube. The game is running the latest code, but if needed
the S.A.M. System (Gary Stern's Dad) is rather easy to update. The game
play is not a run and gun fast action game it starts off rather slow
and some people want action all the time but i like the fact that it has
a different type of game play than other machines. POTC has an
excellent fun factor, great theme even if your not a fan of the movies
and funny call outs, cool toys, fairly challenging to get to four winds
despite the various stop and go.
Williams Indiana Jones : The Pinball Adventure is considered and rated one of the top pinball machines of all time. It's a wide-body pinball machine which features various toys, modes, DCS Sound, and non stop action which incorporates the first 3 films. It has a mini playfield that you can control with the flippers known as the "path of adventure". The game also has a ton of other features for starters ; drop targets which have idol heads, various multi-ball modes, 3 other video modes, 12 modes in total, a rotating idol, as well as two ramps. To me Indiana Jones : The Pinball Adventure was a game that I considered to be a "grail game". At some point I knew I was going to own one and really wanted to save it as one of my last machines because I knew it would likely be one of if not the best game in my collection. The game most certainly doesn't dissapoint and lives up to it's high rating from other collectors. The theme is phenomenal, that is of course if your a fan of the Indiana Jones movies, which I am. I'm such a fan that I named my dog Indiana. Yeah I know Sallah's line from the movie... "You named the dog Indiana!".
I located several Indiana games throughout the country. Some were museum pieces overly priced, some were re-imports, some were good restoration candidates. A re-import is when a pinball machine gets shipped over seas has it's voltages converted, and then when it comes back to the USA it get's changed back which is known as a re-import. For this game I wanted to make sure that It wasn't a re-import. I also really didn't want a game that sat on location. Majority of these games had faded artwork, however I decided to go for a privately owned what i considered a good restoration candidate. The game I found had decent artwork, and the boards were all working, it was also a non-import, didn't have any cabinet lock bars or no drilled holes on the cabinet. Unfortunately the playfield was in dirty shape also had broken rubbers, burnt bulbs, the game was in need of an overhaul or in the pinball world it needed to be shopped out. Being this was my 3rd pinball machine I was slightly more familiar with the internals and how for the most part things worked. I bought the game from someone in Michigan, he actually drove to my house in NY to personally deliver it to me which I thought was crazy. He was a really nice guy and helped me bring the game down into my basement. Being the game is a wide body machine I needed to actually take some molding off my door frame this was the first time I ever needed to do that to get a game in.
Above you can see the drop targets had graphic issues, as well as being broken. Also in this other photo you can see that the playfield was on the majorly dirty side along with the metal ramps were rusty. In the picture above on the right you can see the pop bumper covers had wear issues.
Cracked Rubbers, Dirty Playfield
In the photo above you can see the broken rubbers, along with the dirty play field above the mylar. The problem with this pinball machine and most pinball machine that to get to certain parts requires you to literally tear down the entire play field. At first I was very apprehensive about going forward with the restoration being that I've never done a shopping out job on a pinball machine before, but it's really more time consuming than anything else. It most certainly does present an overwhelming feeling if you have never shopped out a pinball before.
Underneath Playfield
The playfield will lift up if you open the coin door, pull the yellow latch which will relase the metal lock bar. Once the lock bar is off you can then slide the glass off the playfield and carefully place it out of harms way. To lift the playfield simply lift it up by pulling where the balls drain, then pull the playfield towards you, it will click / lock into place. At this point you should be able to safely lift the playfield so it won't crash on your head while working underneath. Once under the play field is lifted you will see a countless amount of wire harnesses, solenoids, lamps, pcbs, screws and other various stuff. Certain pieces of the playfield on top require you to unplug harnesses to pull them off the playfield such as opto boards, the mini controllable playfield, the ramps the light up etc. I would advise that if your going to pull any wire harness to label them with a marker. Sometimes you might need to shift between having the playfield lifted, and then lowering it down again during shopping the game out.
Above you can see how dirty even under ramps where the ball doesn't see any action can get. Another thing to note is that while you are disassembling the playfield it's advisable to take as many photos as possible so you can remember how things become arranged when you need to place the pieces of the puzzle back.
"Path of Adventure" Removed
In the above photos you can see the deconstruction of the playfield as I pulled the mini "path of adventure", as I went along I started to clean some of the plastics with Novus 1. Novus is commonly used to clean plastics, it's basically like an extremely high grit sandpaper 3 being course 2 being medium to light scratches, and 1 is more of a polish.
At this point I was debating on weather or not to add LED's instead of keeping the incandescent lamps. I decided to outfit the game with all LED's. Supposedly they run cooler saving energy which is less of a strain on the power supply, last longer, and look brighter / cleaner. I ended up ordering a kit next day air from "Coin Taker". Sadly I'm not sure what world Coin Taker lives in but to me next day air is next day air, not 3-day air. Melissa apologized about the mistake and did at the end of the day compensate me for my delay of shipment. I was upset because I was basically at a stand still on the machine I really wasn't able to continue. Prior to that I got in a shipment from Marco Specialties which included various goodies for the rest of my restoration. Some parts from Marco were 7 new pinballs (6 for the game, 1 for the captive ball), New drop targets, idol decals, new star posts, a rubber ring kit, new pop bumper covers etc.
I had mentioned earlier about labeling the wire harnesses, well It's also advisable to do the same thing to the various screws so you know where things will go once you need to start placing things back together.
The playfield was really starting to clean up. I used a combination of Novus 2, Novus 1, and then Mothers carnauba wax. I removed the mylar using goo-gone which worked very well. After applied Novus 2, then Novus 1, and then wax.
The same process was done on the right hand side of the playfield. Below you can see the playfield slowly transformation from disgustingly dirty to sparklingly sexy.
Before
During
After
Above you see the captive / held ball, I replaced it with a brand new one although the existing one was probably fine figured since I had the playfield torn apart it should be replaced. Also you might notice that at this point I actually hand sanded the metal wire ramps to get the corrosion and rust off of them. It's nice and sparkly now, I might in the future add gold wire ramps / bronze or perhaps powder coated ones. I'm not really looking forward to tearing the game down again in the future but I've seen the gold wire ramps and they give the game nice character. Mine came with gold legs. I generally try to retain the games originality not a fan of mods on pinball or arcade machines, however certain mods that are tastefully done are cool in my book.
To gain access to the back box you need to simply unlock the top lock, lift the marquee up and pull off the machine. Once the marquee is off you will see a metal latch on the right hand side, if you pull that up it will reveal all of the components behind the back box. I noticed the batteries had an expiration date of 2013 which it happens to be 2013 (Crazy this game is already 20 years old!), so I replaced them with 3 new AA's. When you replace the batteries make sure you look for any acid damage and as a good habit you should replace the batteries on any previously owned machine. As of now I don't believe I have the latest ROM Revisions. I think the latest ones are L7. I'll visit that potential upgrade at a later time.
Getting back to the playfield the drop targets were in dire need of
repair, the center plastic was cracked not to mention the others were in
rough shape cosmetically. I decided to just replace all of them with
brand new drop targets, and licensed Williams decals.
The drop targets are fairly simple they essentially have a PCB which has an opto sensor on it when dropped. One solenoid controls them back up using a metal bracket. The drop targets are spring loaded and to detach simply remove the pcb, unhook the spring and take off the various e-clips.
Above as you can see the new drop targets came blank and simply needed to have the Licensed Williams decals added and re-attached to the mechanism. If you notice the top of the drop targets have a wedge type design, this is so the ball actually rolls over it. You need to adjust the screws attached the metal bracket where the solenoid is so that the level is perfectly set for the ball to freely roll above the drop targets when dropped.
Going back to the playfield I started to replace various star posts which are those yellow plastic pieces that hold the screws, rubbers etc. Even though it was necessary I also replaced every rubber even if they weren't cracked or broken I still replaced them while the machine was torn apart and much more accessible.
Old Rubbers
New Rubbers & Star Posts Installed
Taking off the mini playfield also known as the "Path of Adventure" was probably the most difficult. The reason why is because you need to pull other parts off such as the bridge, the metal slide etc. Once I had the mini playfield I stripped that down and waxed it as well. Also replaced all of the lights with LEDs.
Cleaning "Path of Adventure"
Underneath "Path of Adventure"
Above on the left you can see the mini playfield has red plastic ball guides that look like bricks, or perhaps snake skin, the original prototype Indiana Jones came with metal ball guides, Williams likely cut that out of the equation to save money. On the right you can see the underneath photo of the path of adventure. The wedge lamps are rather difficult to get to and will require you to unscrew the pcb's from the mini playfield if your going to change them to LED's or just need to replace them.
New Williams Flipper Bats & Red Rubbers Installed
Above you can see that I changed the original white flippers with black rubbers to new yellow flipper bats, and red rubbers. I like this color combination much better, and they needed to be replaced. Changing out the bats is rather simple, you just need to lift the playfield & adjust a nut. The game doesn't require a full flipper rebuild which is usually replacing the springs, bushings, coils, sleeve etc. The flippers should be aligned with the tiny holes on the playfield so they are even.
Finally my LED's arrived from Coin Taker. For the most part
they were organized, however I decided to line them up and separate by
color. The kit came with a list of where each colored LED went on the
playfield, it's best to cross off a list as you go so you know what's
been completed.
Under Lamp Board
Most of the colored lamps / LED's will go on this lamp board, Coin Taker provides a list of where each lamp should go. Only 2 lamp sockets needed to be re-soldered. For the most part most lamp sockets will easily twist off, but the side ones seem to be more difficult. Since two needed to be re-soldered I just decided to pull the entire lamp board off the playfield.
Playfield re-assembled ready for action !
Essentially most of what was left was reconstructing the playfield, and testing everything. I placed the game into the diagnostics mode through the menu system which let me test all of the games lights, switches, mini playfield operation, idol operation etc. After minor tweaking the game was suitable for enjoying again! The cabinet does needs some minor touch-up which I might address down the road, but overall for it being 20 years old is in far better shape than various other cabinets that I've come across. Considering it has original art on the cabinet it has very light fade so I doubt I would replace the artwork any time soon. I might add gold trim, and possibly gold wire ramps but like I said I would like to keep the game as original as possible. I've seen people with gold or chrome gun handles which looks nice and shinny but Indiana Jones had a black gun so I might powder coat it down the road. I tried using a magic eraser on the stainless steel side rails and lock bar but to no avail, also tried using stainless steel wipes which didn't seem to change it's appearance. Then I did actually go ahead and hand sand the side rails and stainless steel lock bar using 220 grit to start out, and then 320 grit after for a nice smoother / cleaner finish which worked well.
Another minor cosmetic detail that I changed was I replaced some of the black rubber sleeves with orange colored rubber sleeves which make it pop a little bit more and the orange really compliments the playfield well. The company that sells the colored sleeves are called "Cliffy's" he is mainly known for metal protectors for the playfield and his website is Passion For Pinball.
Black Rubber Sleeves
Orange Rubber Sleeves
Lights on, no glass or lock bar, playfield re-assembled
Once all of the minor tweaking was worked out the game is playing great! I'm just happy to revive a classic machine which is worthy of being restored. Also to note The Williams Indiana Jones from 1993 is 10x better than the newer Stern Indiana Jones from 2008. I've actually played a Stern Indiana Jones on location in Disney's Animal Kingdom Lodge and thought it was OK, but felt that the game was rushed. I'm excited for Indiana Jones 5 when it comes out. Below is a roughly 11 minute video of game play on my machine. While not my best game by any stretch it shows various modes and gives a nice example of game play.
I've only had the machine for several weeks but it's addicting to date my best score on this machine is 1,147,690,400. One of the best parts about pinball is that it's completely unpredictable, it's a much more physical game than the video games. The brilliant John Williams score plays pretty much throughout the game so be prepared to have the Indiana Jones Theme song in your head for a while.


